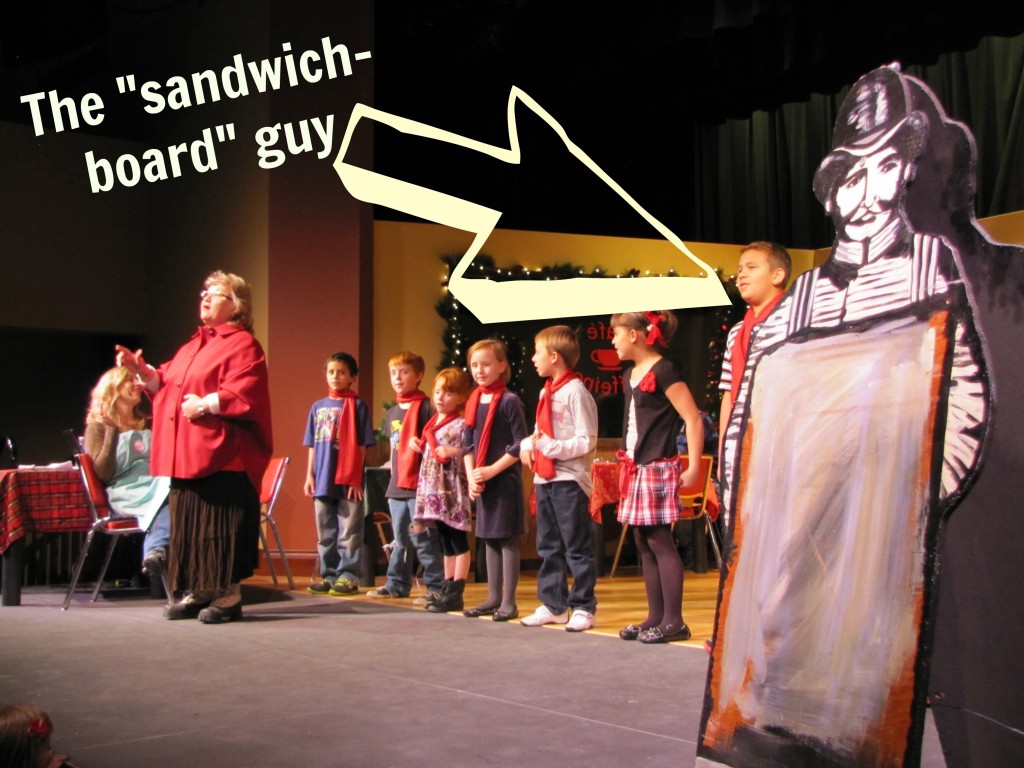
I had to make a couple of signs to hang on the sandwich-board-man on the set of Dave’s production coming up this weekend (Merry Gentlemen, Christmas in Mediocrity).
In THREE minutes or less, done deal.
They turned out pretty cute and were so easy. I am a total graphics novice, but I am going to show you how I created them in less than 3 minutes.
Step 1: I googled “white” and grabbed the first image of a white rectangle and saved it to my pictures. THREE SECONDS! Here is the image I got if you want me to make it easier [click].
Step 2: I opened www.picmonkey.com and uploaded the white image. Maybe 5 seconds? 7?
Step 3: I rotated the white image to vertical. 1 second.
Step 4: I opened the snowflake image (Winter Wonderland) from the tools to the left side of the PicMonkey screen.
Step 5: I selected a font from the ones they suggest in this holiday collection. In this case, I typed these words (2 separate word boxes) December, and 23. I resized the word and then the number and then selected colors for them. Maybe 30 seconds trying to decide.
Step 6: The longest of all steps, just because they have so many fun flourishes and branches and wreaths. You can do whatever you want. I used two different sprigs of holly on the bottom, then I use a sprig up top. Since I already knew that my sign needed to be simple, I didn’t play much and it was done in less than a minute.
Step 7: I saved my image to my computer. 2 seconds.
Step 8: I opened a blank page on Publisher and used the page-setup feature to make sure it was the 11 x 17 size I needed.
Step 9: I inserted the image I had created onto the blank (from my computer) and enlarged it to fill the space. The dimensions were not exactly correct and they didn’t have to be for this project. But please note that. This is why it took such a short time to design and finish. It is a casual sign. If you are going to be precise, your original background needs to be proportionately exact to the size you’ll be printing. :) Mine didn’t need to be, so: 5-10 seconds.
Step 10: Add a thin line around the edge with Publisher tools. SAVE IT! Print. :)
Three minutes or less. Seriously.
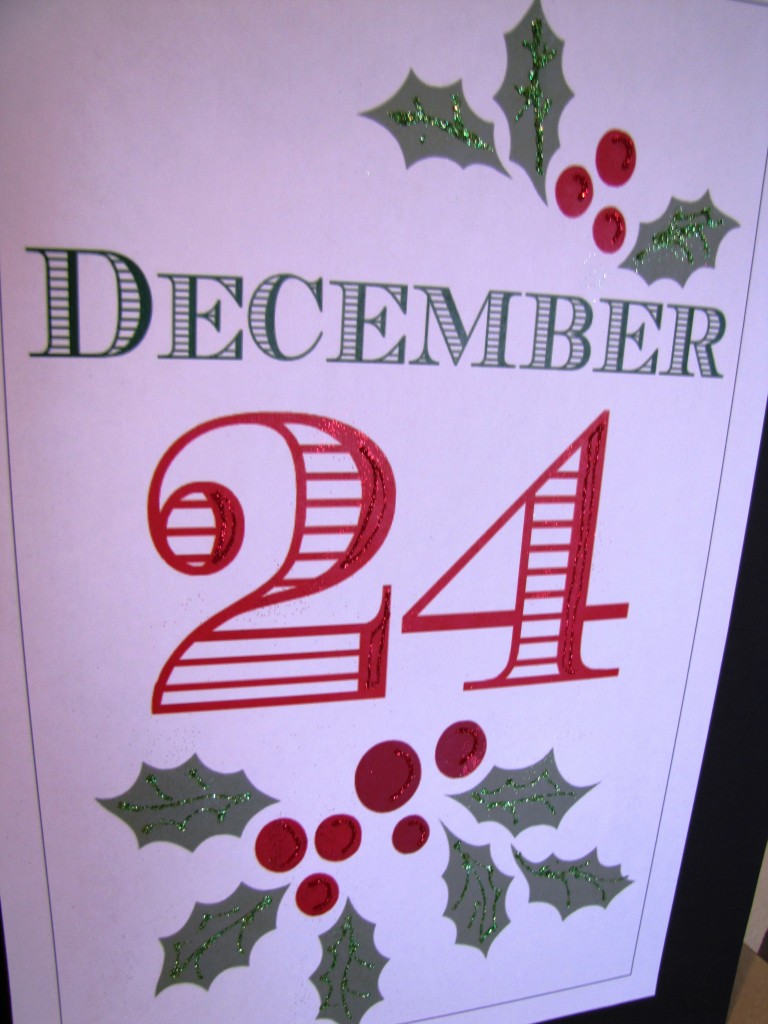
ALSO the cool thing with PicMoney.com is that after I originally saved the December 23 image to my computer (name it, of course,), I was able to just change the date to 24 for my second sign and save it without having to start over. So really, I made TWO signs in 3 minutes or less. Oh, yeah, baby!
These have been mounted on a piece of black foam core (cut in half) and will twinkle away onstage at the opening night performance tomorrow night.
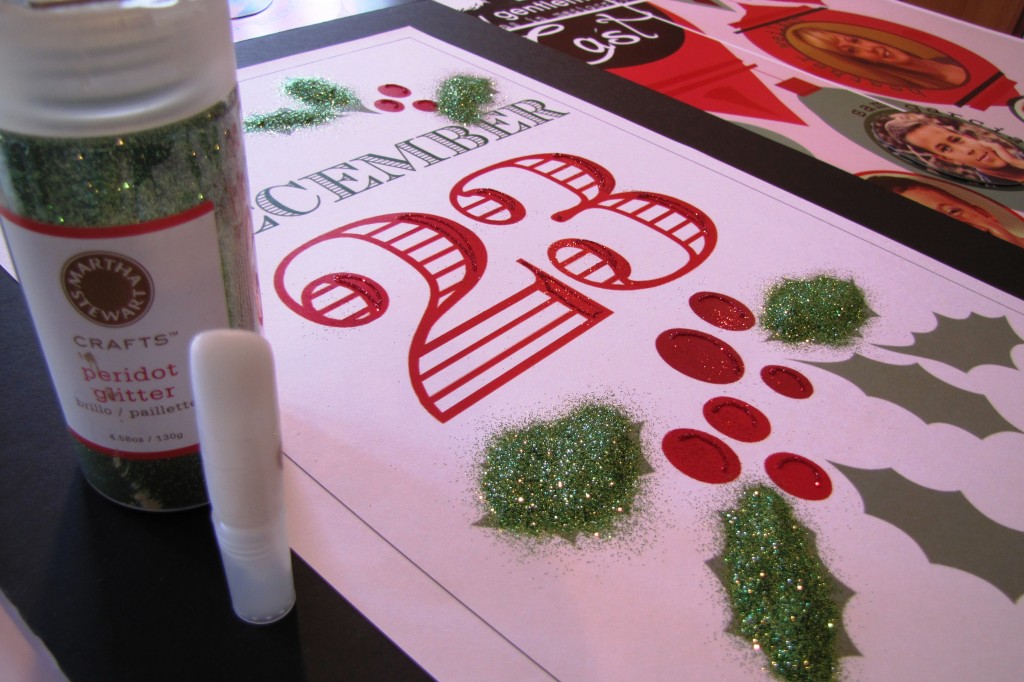
A little bit o’ glitter.
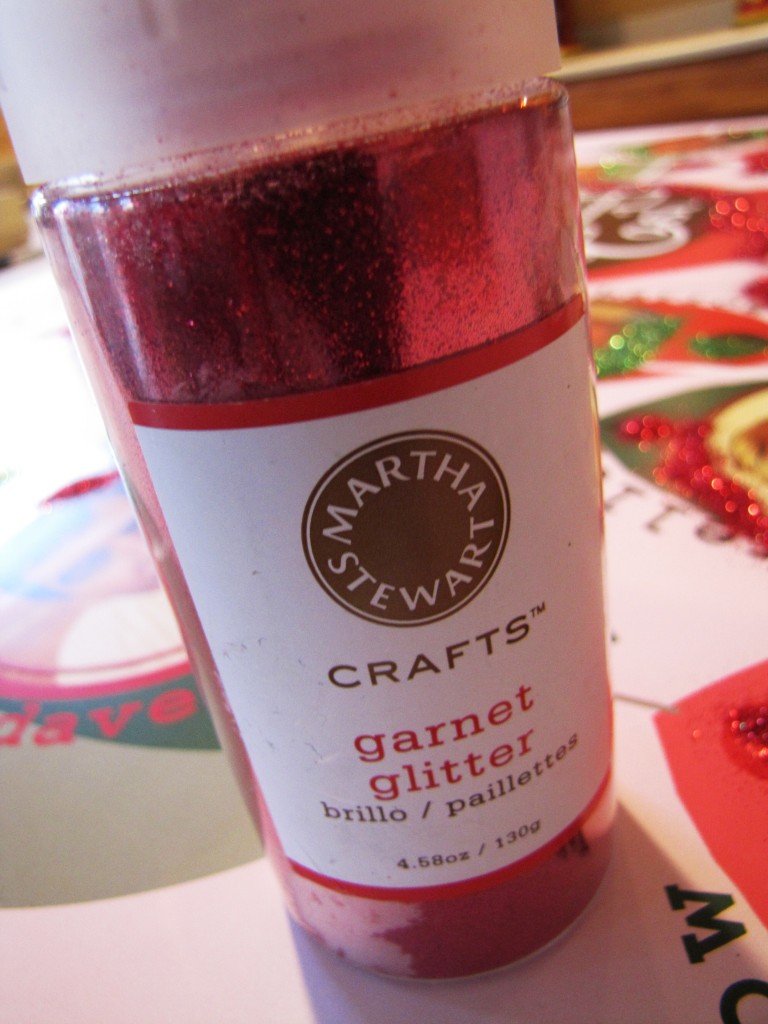
I am trusting you all to NOT let Stormie know that while adding just a little glitter to the signs (for that extra sparkle every show needs) I accidentally may have dumped a pile of red Martha Stewart glitter on her camera. I am not saying it did happen. Just that it may have happened. So, don’t talk about it.



HAHAHAHAHA as I scrolled and saw the glitter photo, my comment was going to be something along the lines of “Nooooo, not glitter!!!”…and then. There better not be ONE tiny piece of glitter on my camera! Haha…to keep from *sob sob* I HATE GLITTER!!!!!! But love you…so there’s that. Seriously…not ONE PIECE ;)
How in the world can someone hate glitter???? Stormie, I’m appalled! I say, if a little is good, a lot is GRRRRRRRRRRRRRRREAAAAAAAAAAAAT!