Tag Archives: diy

hello. In less than 10 minutes

You know I love me a good 10-minutes-or-less project, right?

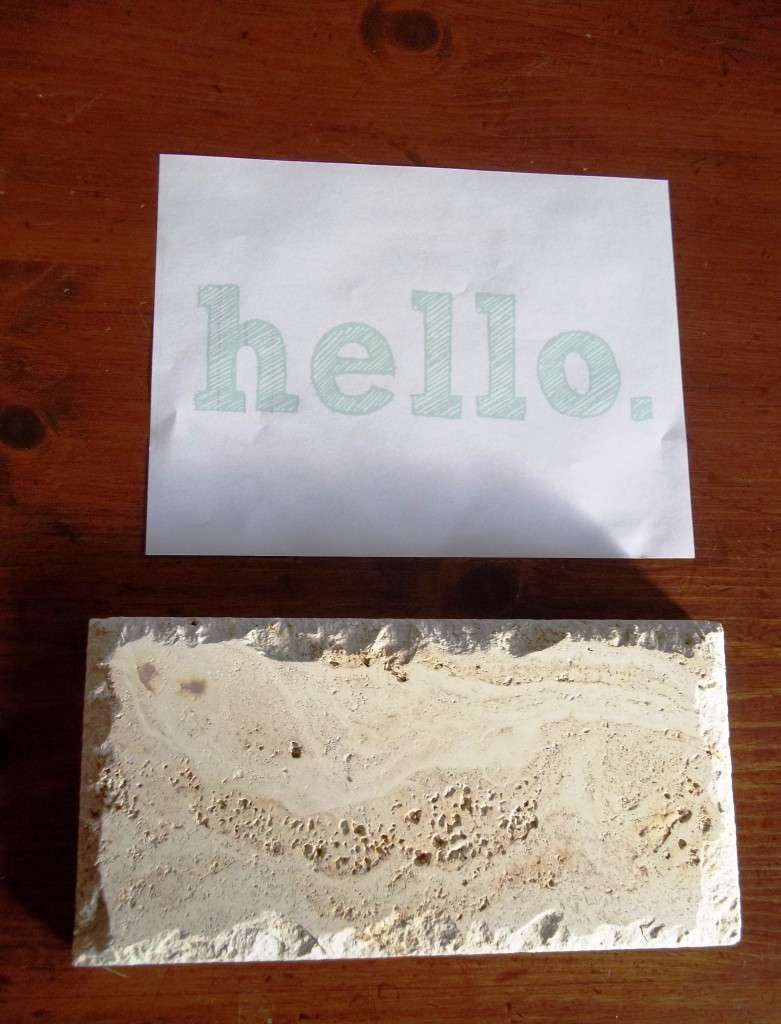
I had this one stepping stone from Lowe’s.  I think I was contemplating using it for another project or something and I brought home this sample.  But didn’t use it.

I had also thought, at some point or another of painting or stenciling a simple greeting on my front porch, “hello.”  Didn’t do that either.

Then 10 minutes happened my way, just after brewing my morning coffee.

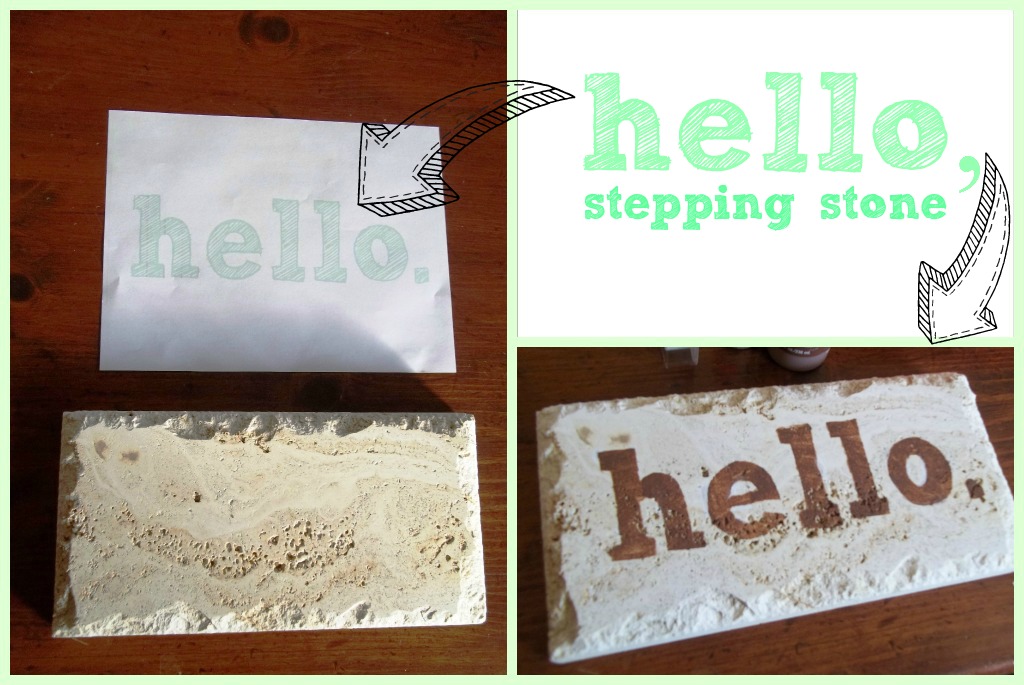
On hand: 1 fake-slate-travertine-type stepping-stone, approx. 12″ x 6″, some latex paint, a photocopy and packing tape and a sponge brush and~

Enter PicMonkey-dot-com.  www.picmonkey.com

I told you about PicMonkey before {HERE} so you can see what the heck I am talking about.

1// I uploaded my handy-dandy “white” jpg to PicMonkey.

2// I selected a very simple and casual font and added the word “hello.”  Maybe 2 minutes to decide which font?

3// I saved the image to my computer and threw it into a Publisher doc and stretched it to fit within the paper’s parameters, so my finished image would be about 5″ x 10″.  And hit print.  1 minute.

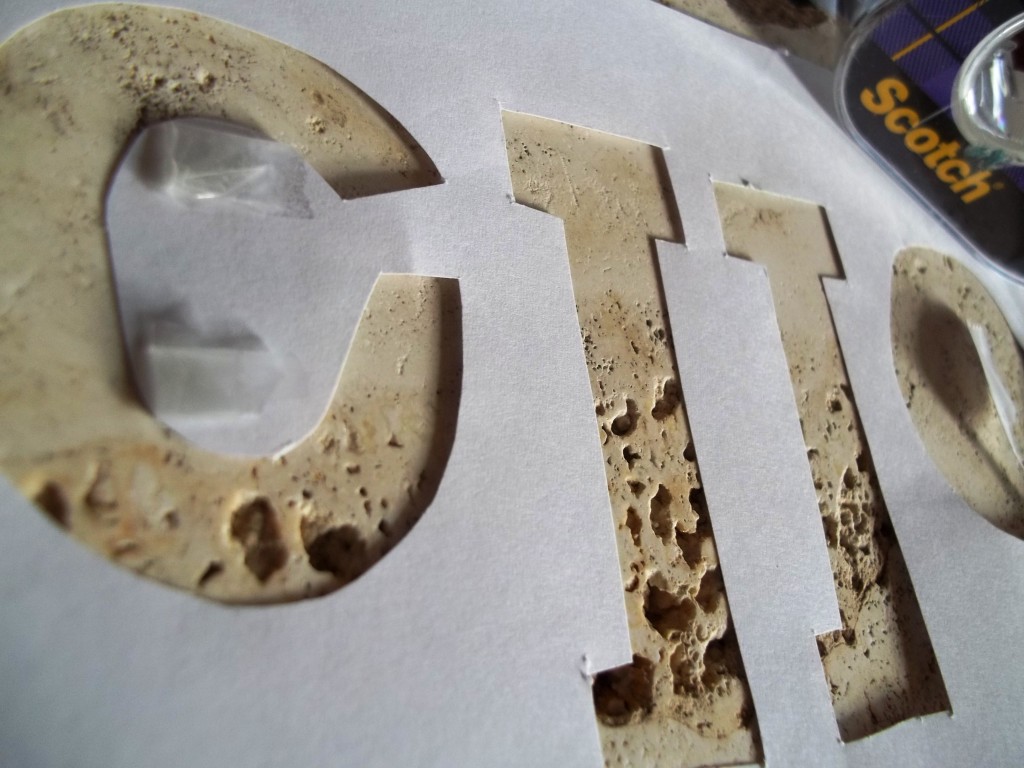
4// I put two strips of packing tape over the printed word to make it sturdier for cutting and painting over.  Then I cut out my word. 3-5 minutes.  Didn’t go for perfection.  It is a stepping stone.

5// Use teeny-tiny little tape donuts on the backs of the “insides” of letters. 30 seconds.

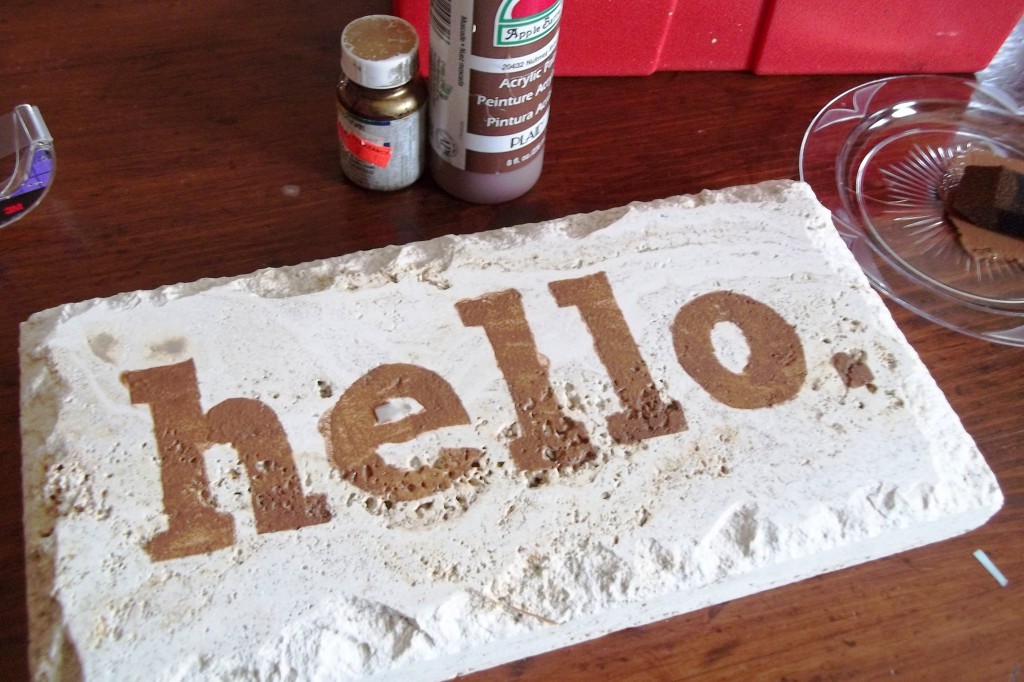
6// I tried {and tried} to get my brown, gold-flecked enamel open, but couldn’t, so I used brown latex paint and sponge brush and just “stippled” the paint onto the letters. 1 1//2 minutes, if even.

7// I ripped away the paper and voila!  It was not perfect. :)

8//  I wiped excess paint off with my finger and then used some creamy white to just barely make a couple of edges more perfect.

Done and time to dry.  I may or may not put a thin coat of tile sealer or satin poly over it before it takes it place on the front porch after Christmas decorations come down.  Either way, aren’t I just the friendliest?

I don’t know why you say good-bye, I say ‘hello.’

And MERRY Christmas!
 

Fancy carved-wood frame from glue and paper towels

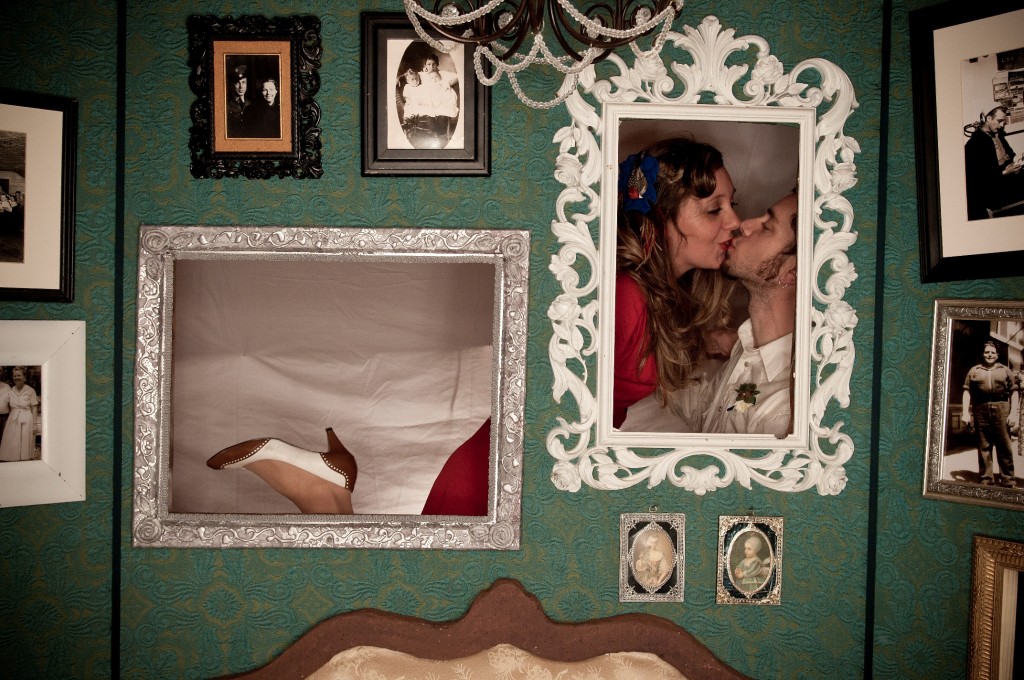
Frame for a wedding photo booth.  A DIY!

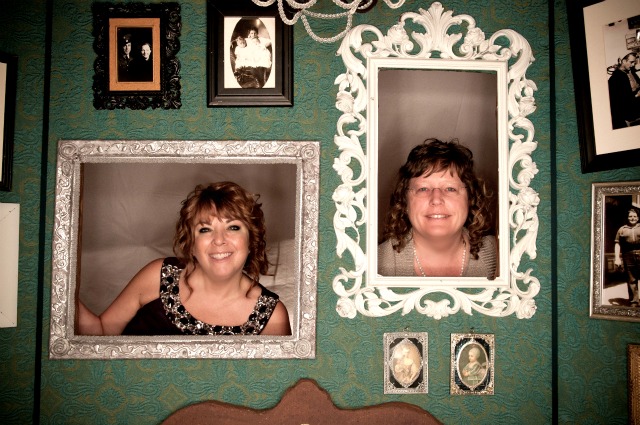
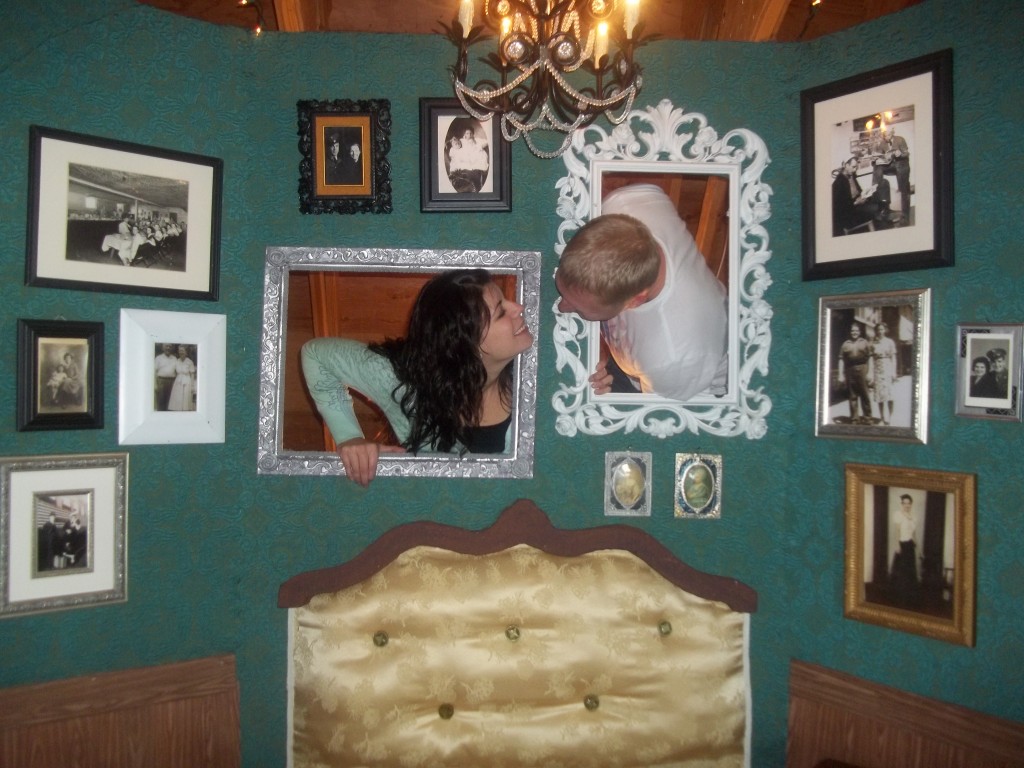
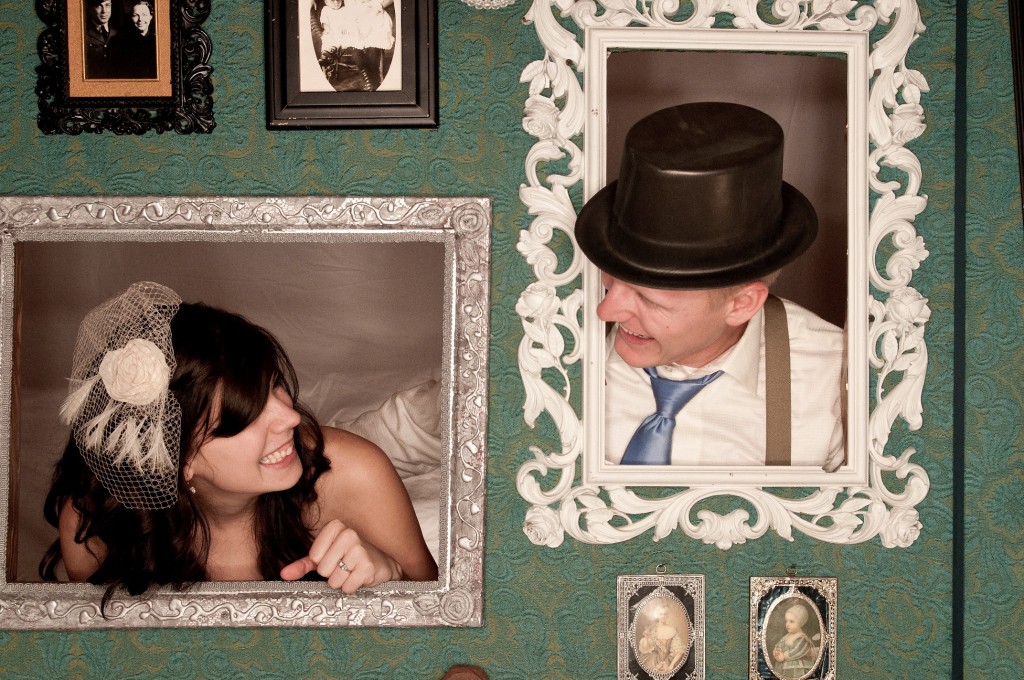
That is me looking through it, there on the left. The “fancy carved wood” which isn’t carved wood nor really too fancy.

The M-O-B and the M-O-G (mother-of-the-bride and the mother-of-the-groom, Tammy and me)

I needed a good-sized,  ornate-ish frame for the old-fashioned-family photo booth and just didn’t have time to go shopping for one.  So one afternoon when Hunter came over.  We decided to make our own.

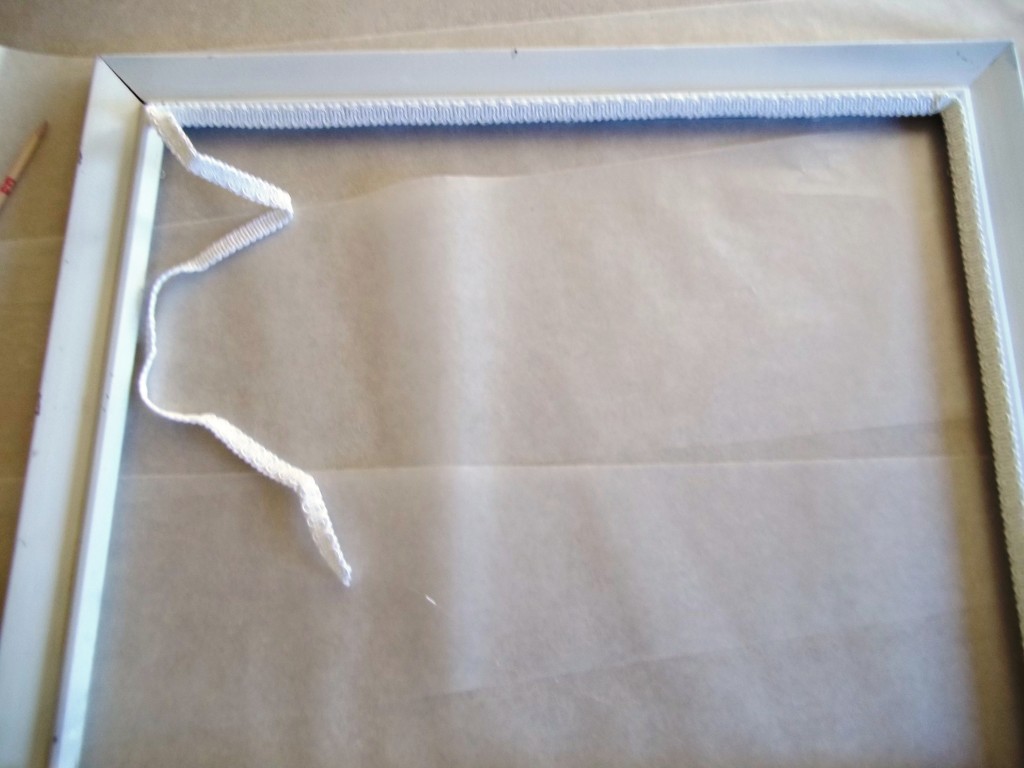
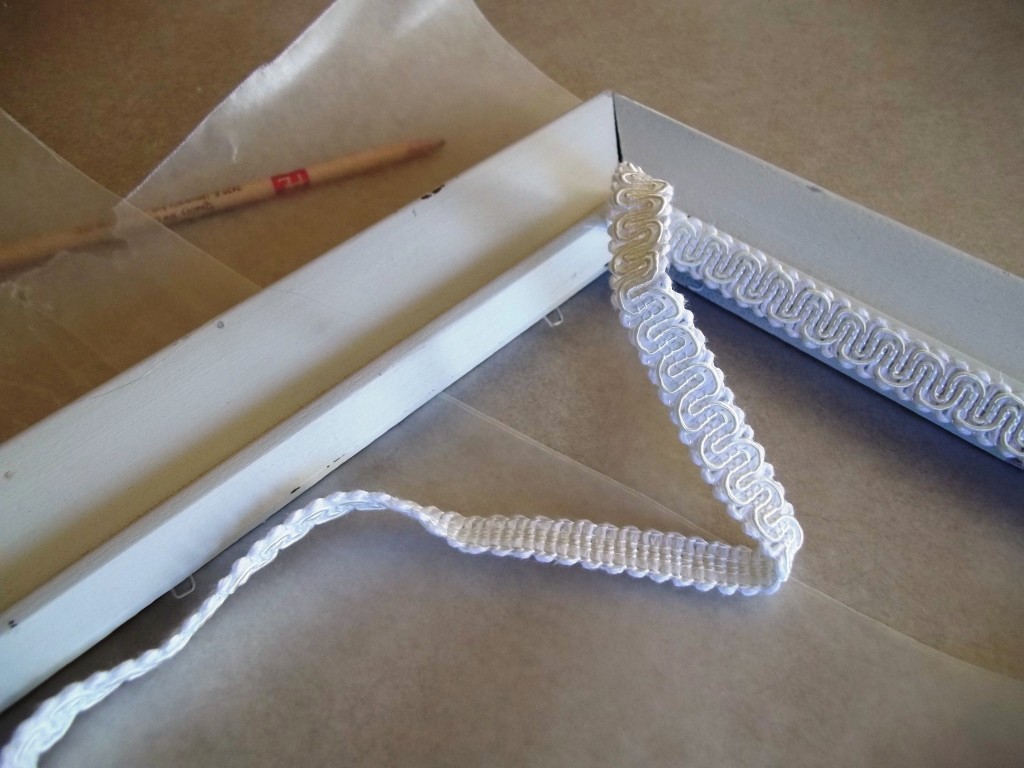
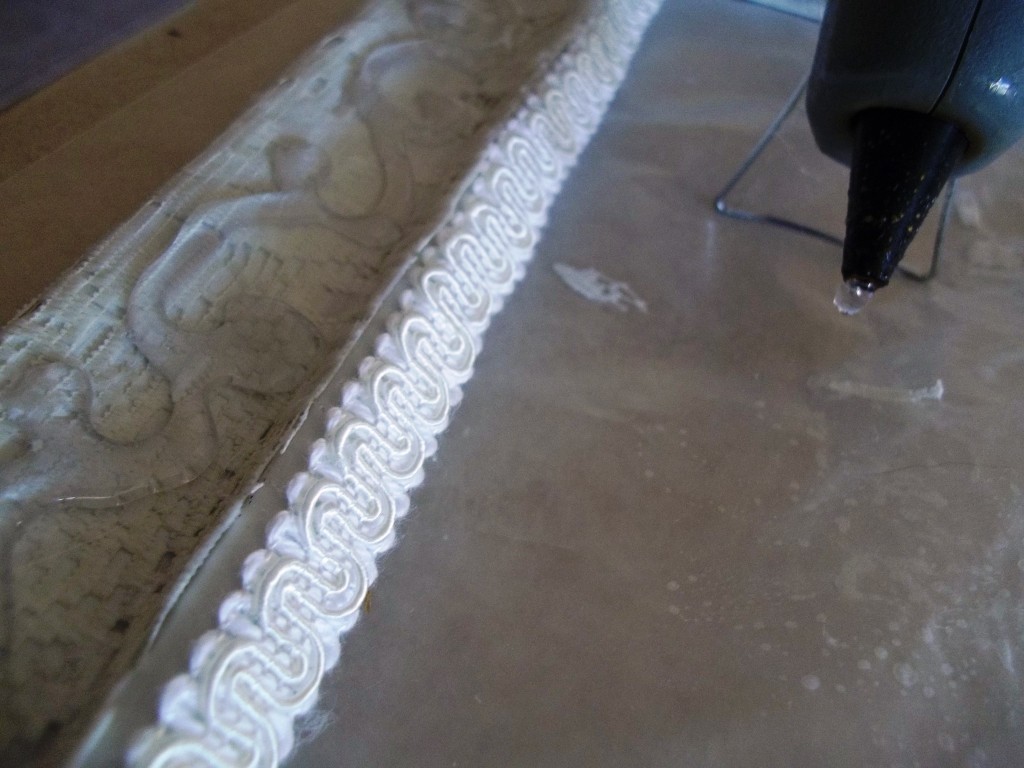
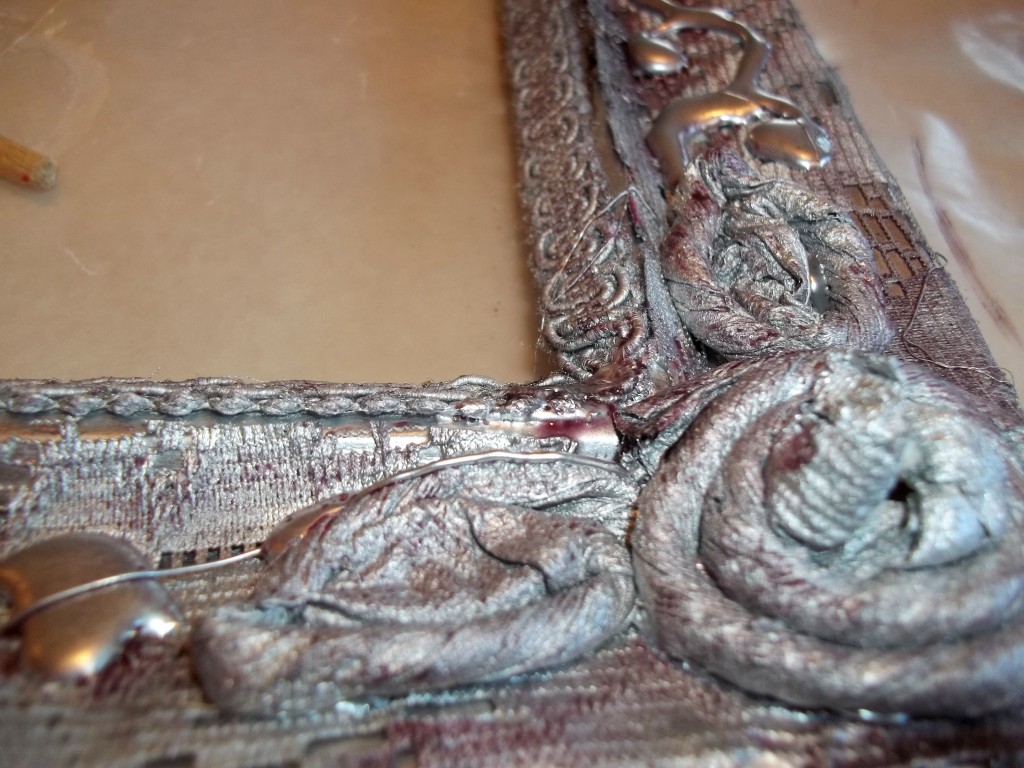
I grabbed a large, wooden frame from the garage that had seen better days and had already been sprayed white for a previous event.  First we hot-glued some gimp around the inside trim.  The idea is to add texture!

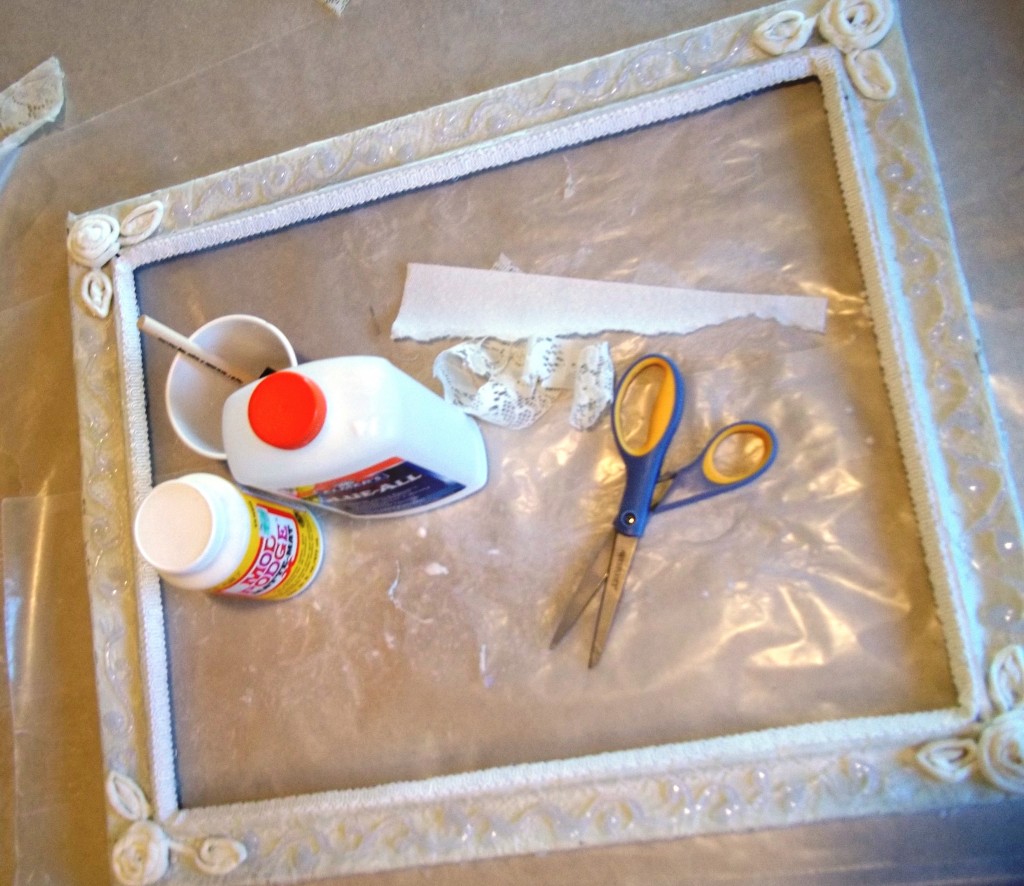
Then we glued lace scraps from the fabric scraps box to the main surfaces of the frame using a white-glue and water mixture (2 parts glue to one part water).  Imagine it as a decoupage-type project.  The pieces were random and that is fine.

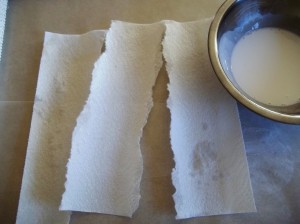
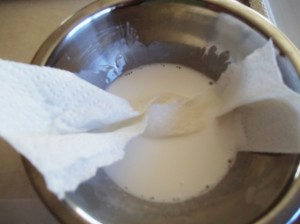
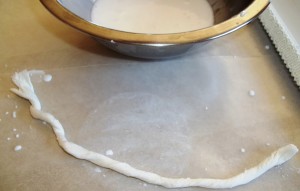
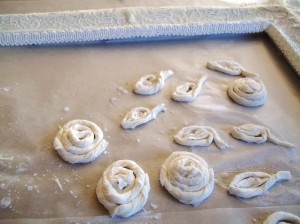
With our glue mixture, we tore strips of paper towels, twisted them, dipped them in the glue and rolled them into “leaves” and rosettes.  We put them aside to dry on some wax paper.

When the lace on the main part of the frame had dried, we took the hot glue gun and just made curly-qs, some loops and swirls all the way around the frame.  The combination of this 3-d texture on top of the lace is going to create the idea of an old-fashioned,  carved-wood frame.

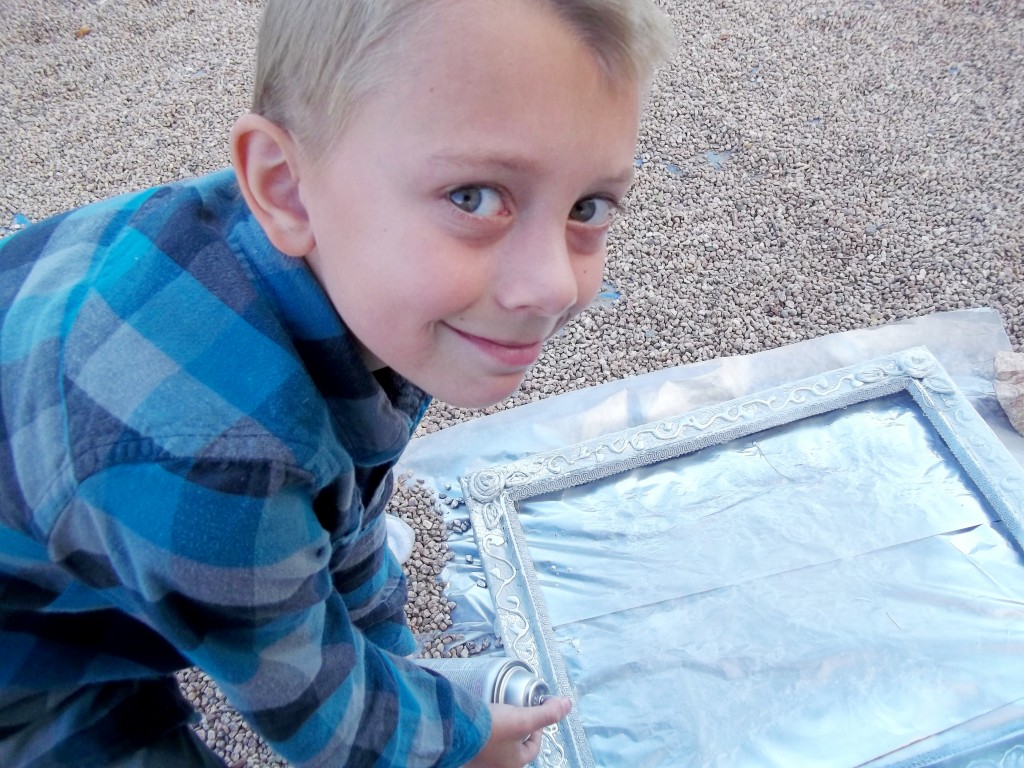
Once everything was pretty dry, we hot-glued the rosettes and leaves to the corners of the frame and then took it outside to spray paint it.

We sprayed it silver.  On grandpa’s utilitarian-garage-side…which was good because we got a little out of control.  But it could have been brown or white or whatever color…and may still end up that way!

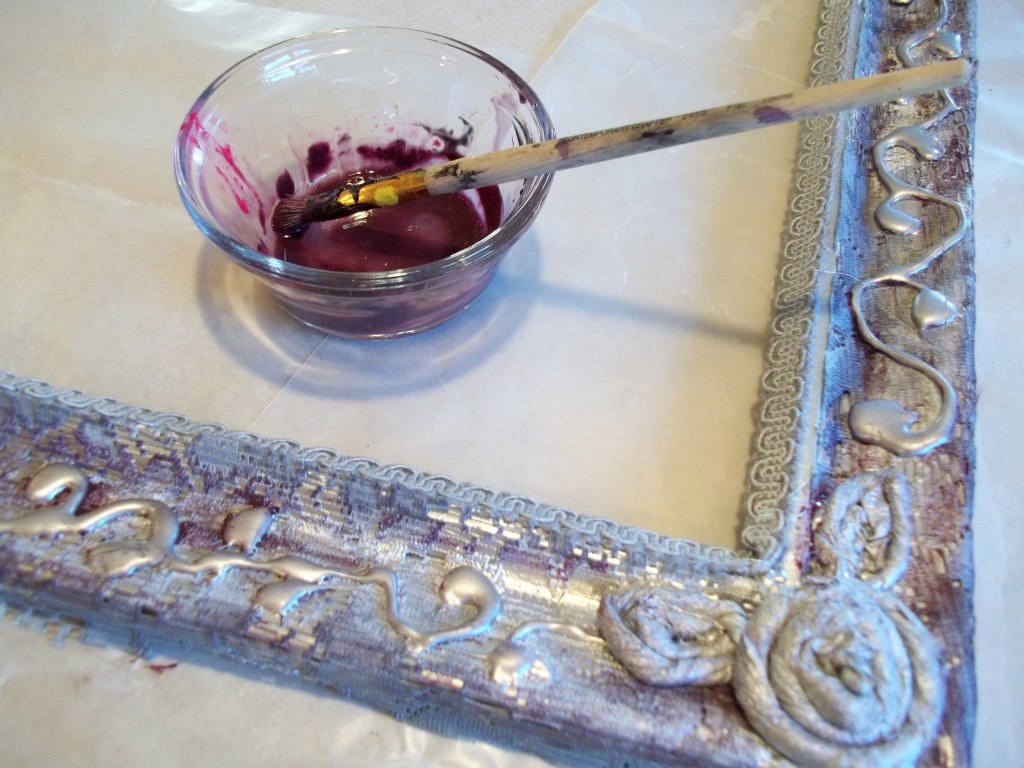
After a few minutes of airing it out and letting it dry, we brought the frame back inside and then made a purple “glaze” by just watering down some paint.  We used paint brushes and paper towels to put the glaze onto the frame and get it into the crevices and then sort of wipe of the excess.  This also makes it have a more textured, carved look.  It creates shadow and makes the various materials look like one aged piece.

A couple of hours later, voila!  We had a faux, carved-wood frame for the photo booth.

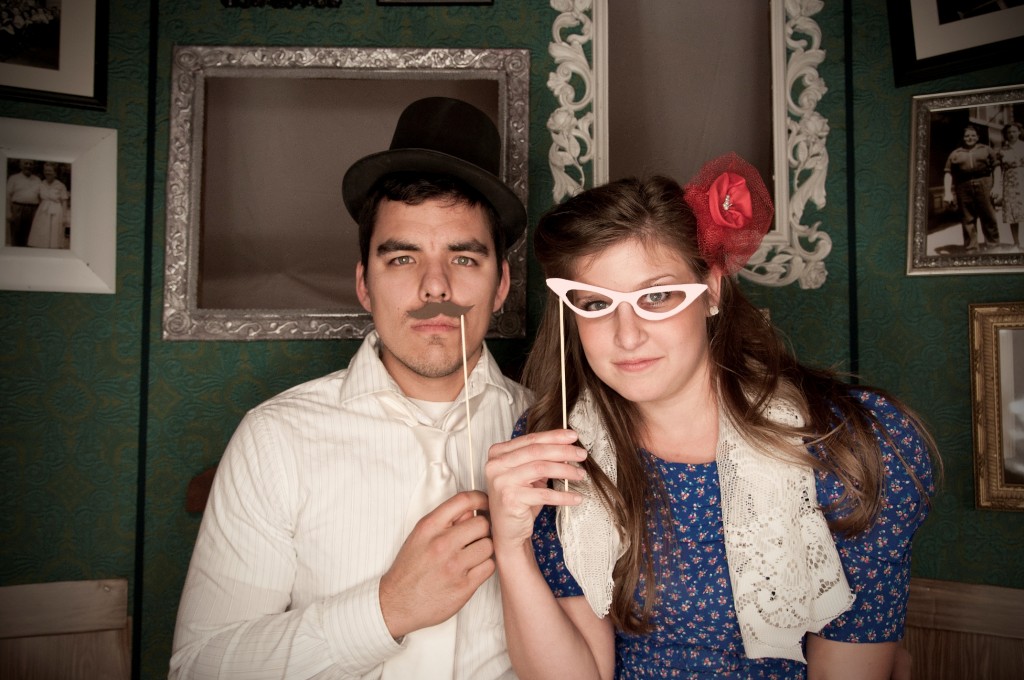
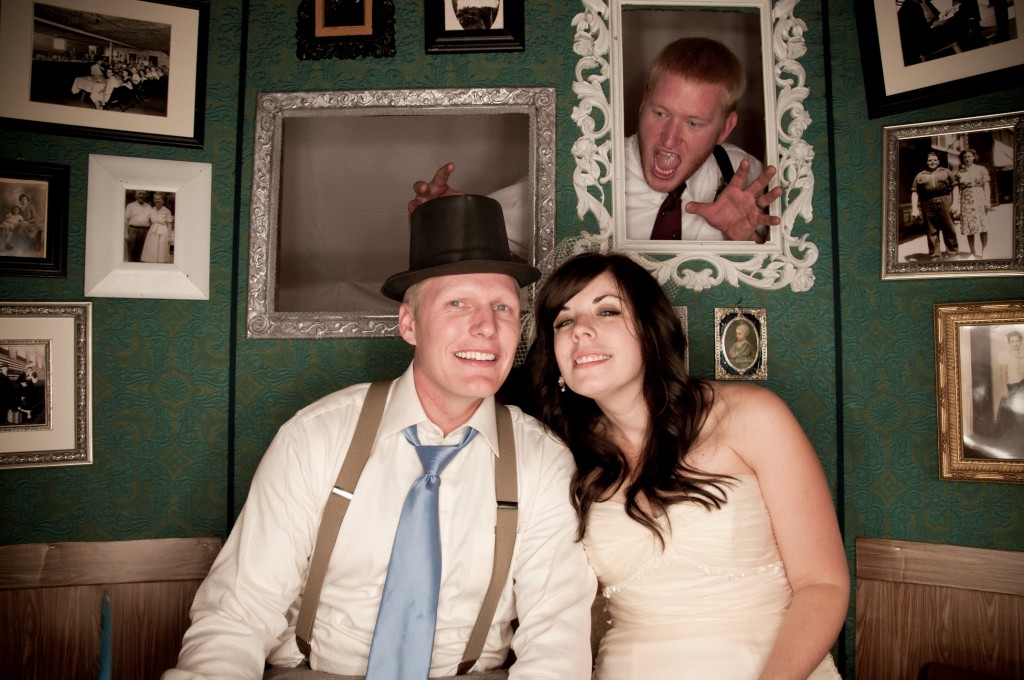
That is it the “open” frame on left.  This is Ryan and Tredessa “trying out” the photo booth a few days before the wedding when we were at the barn decorating.  When I was finished, I realized that I really could have accomplished the same effect with a much larger “frame” by using a piece of foam core or cardboard cut into a frame shape.  Just a little FYI on the DIY!

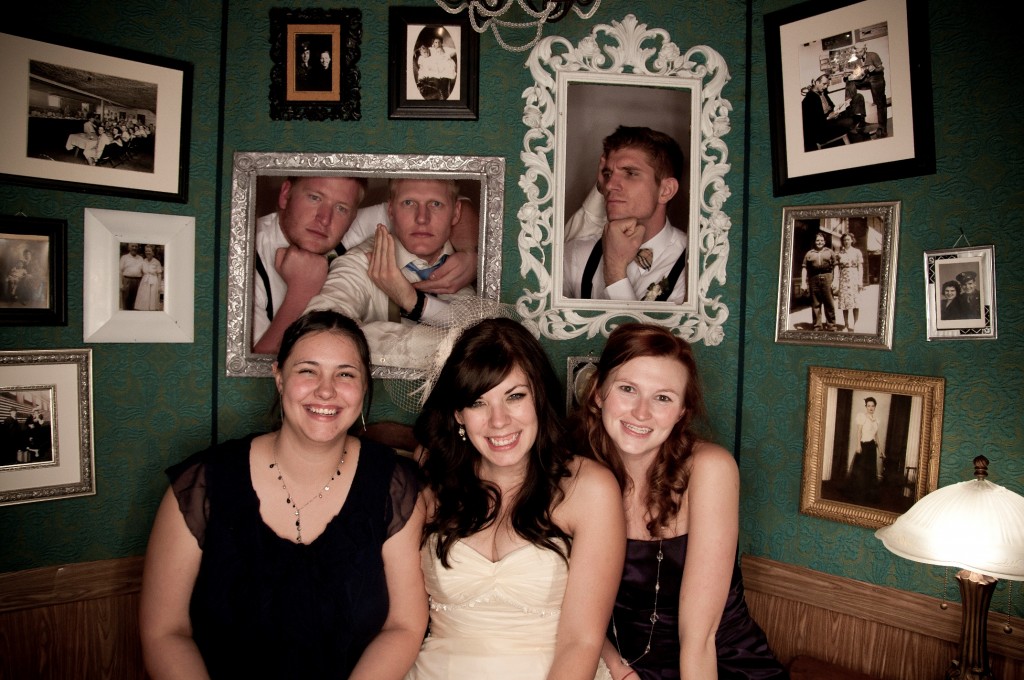
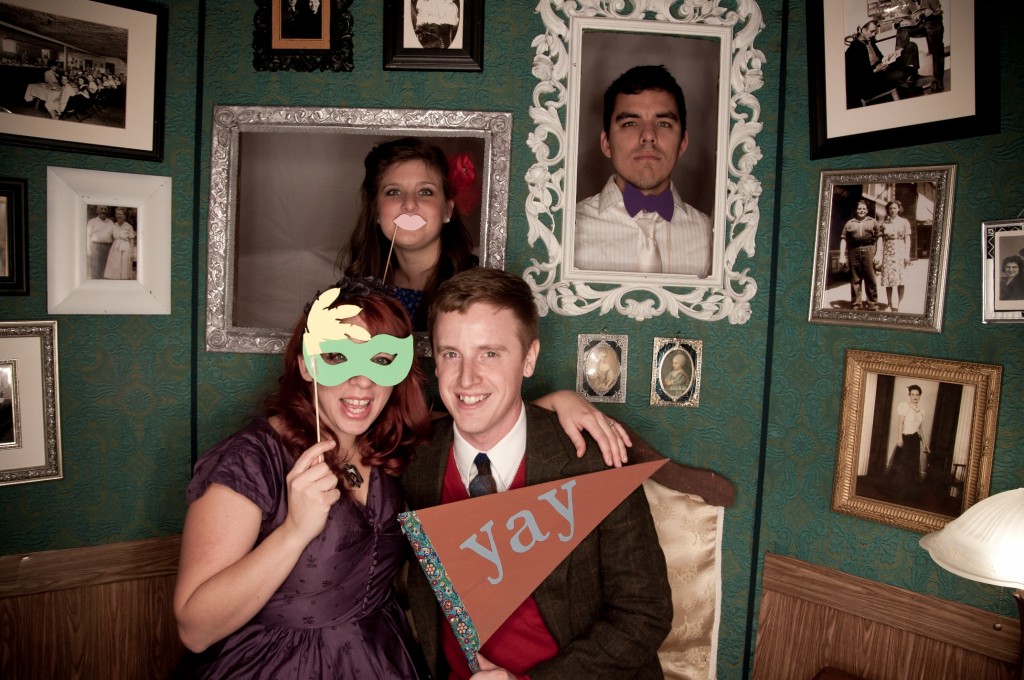
They placed actual photos of grandparents and great-grandparents because they wanted to include their heritage in their celebrating.

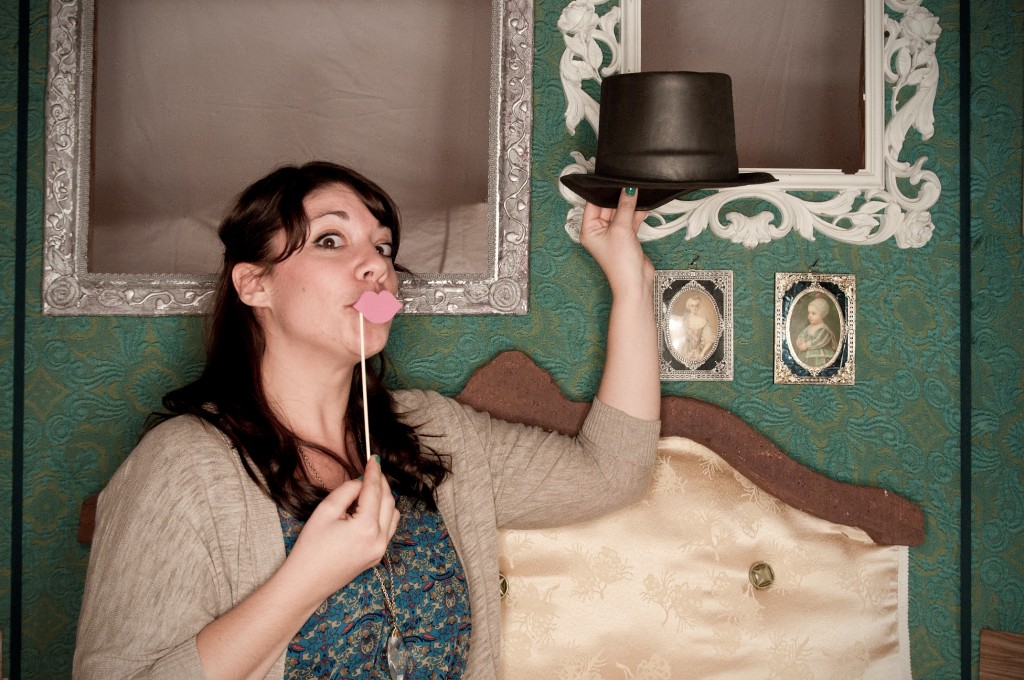
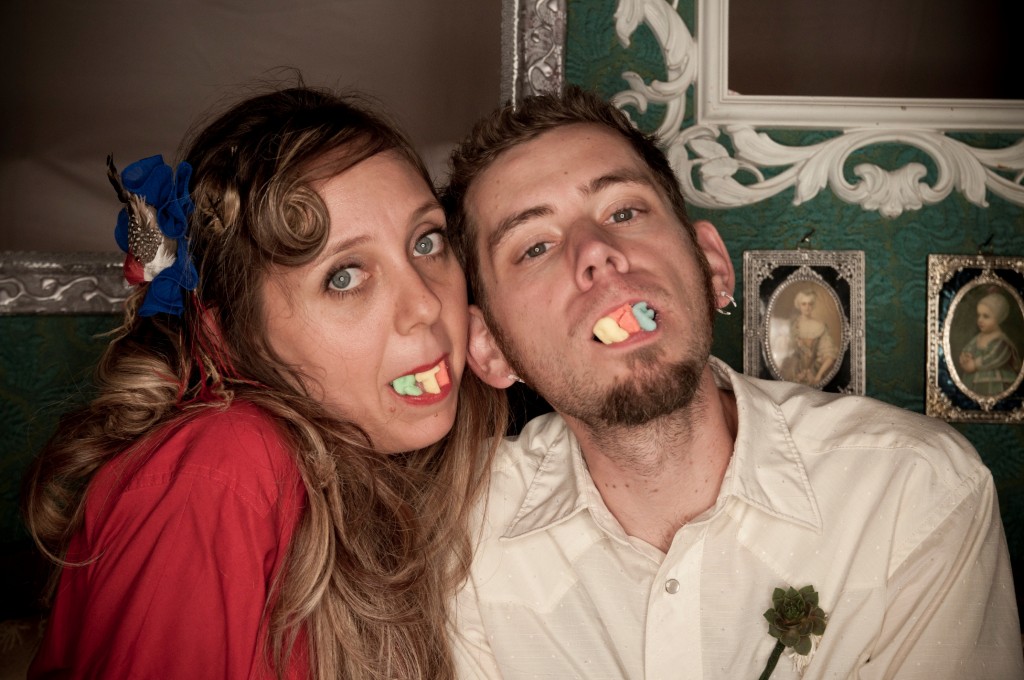
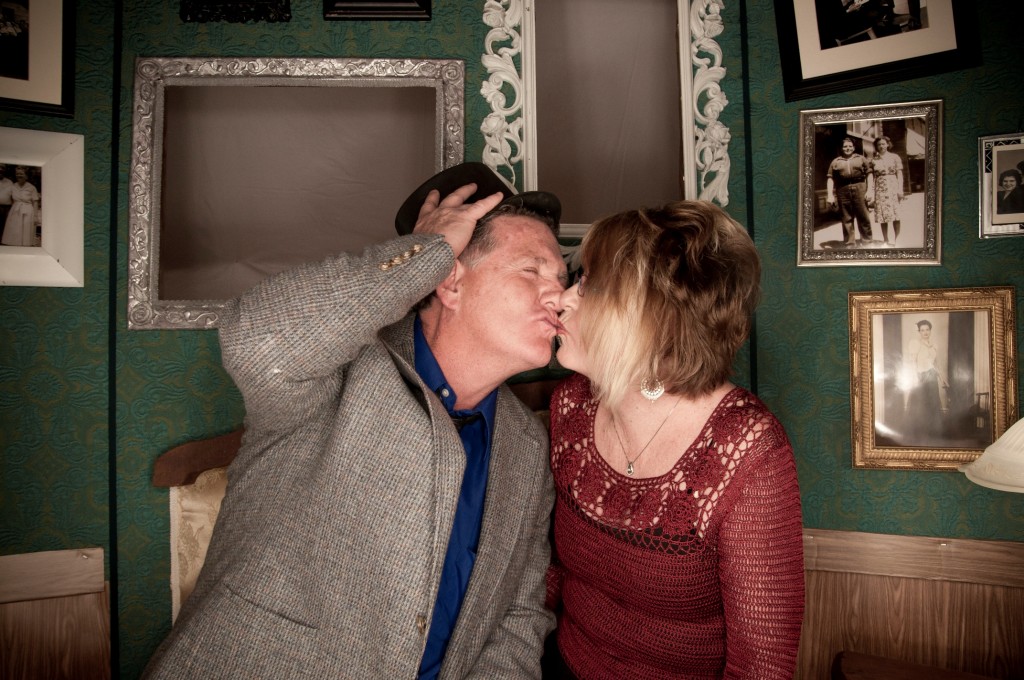
Some of my fav wedding-photobooth shots~

Niece, Elise posed in honor of her lover-husband who could not attend.

Dana and Jason hammed it up for quite a few good shots!

Two of my grandbebes, confetti girls Gemma and Averi with Ryan’s little flag-boy, Cody.  CUTE!

Picture-perfect!